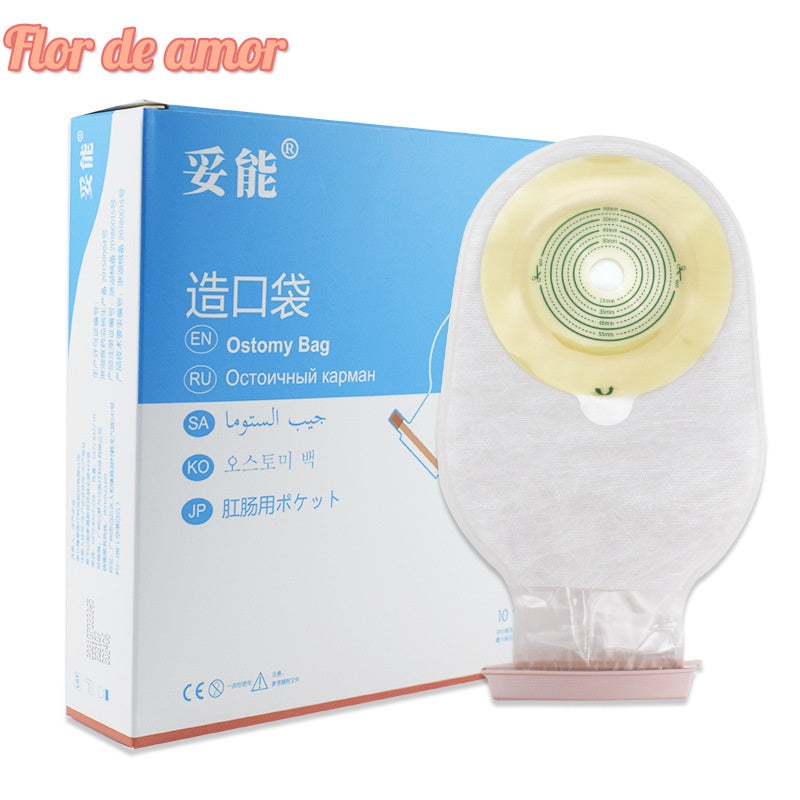
10pcs Ostomy Bags One-piece Colostomy Bags Disposable Pouch Opening 15-60mm With Clip Closure Stoma
10pcs Ostomy Bags One-piece Colostomy Bags Disposable Pouch Opening 15-60mm With Clip Closure Stoma
Couldn't load pickup availability
Welcome to Flor de amor
Product description:
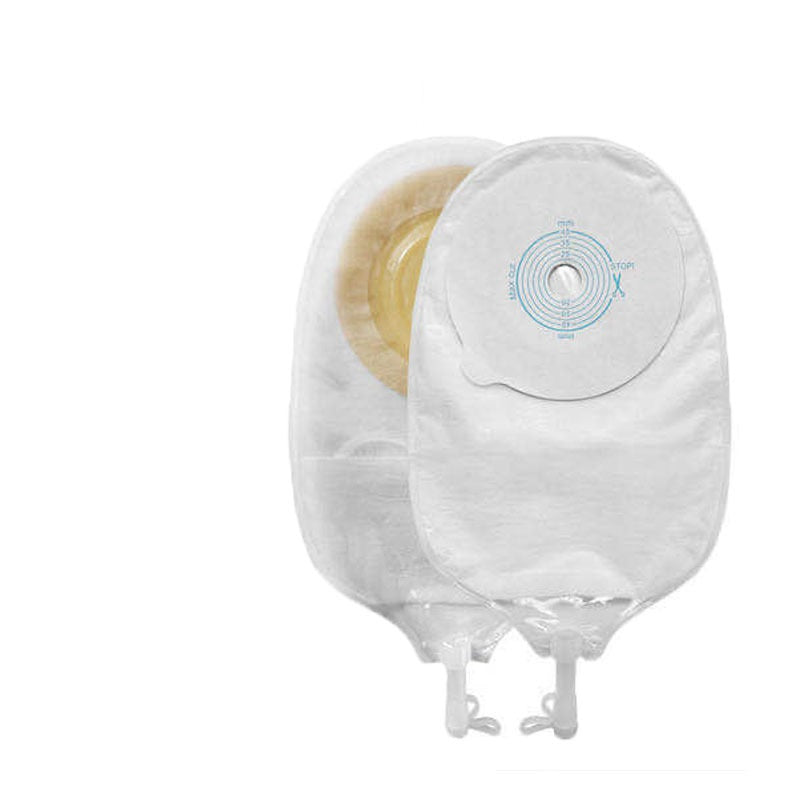
Ostomy Care Bag combines the skin barrier and the collection pouch into one simple, easy-to-manage system, providing great simplicity.
The colostomy pouch is easy to apply with the attached Velcro Closure providing security you can feel as the plastic fasteners lock into place, easy to empty and irrigate.
Package includes: 10Pcs One-piece system ostomy bags+2 clamps+1 Ostomy measure card+1 Instruction book+10 Clips
Product characteristics:
◐ One-piece design (simple and convenient)
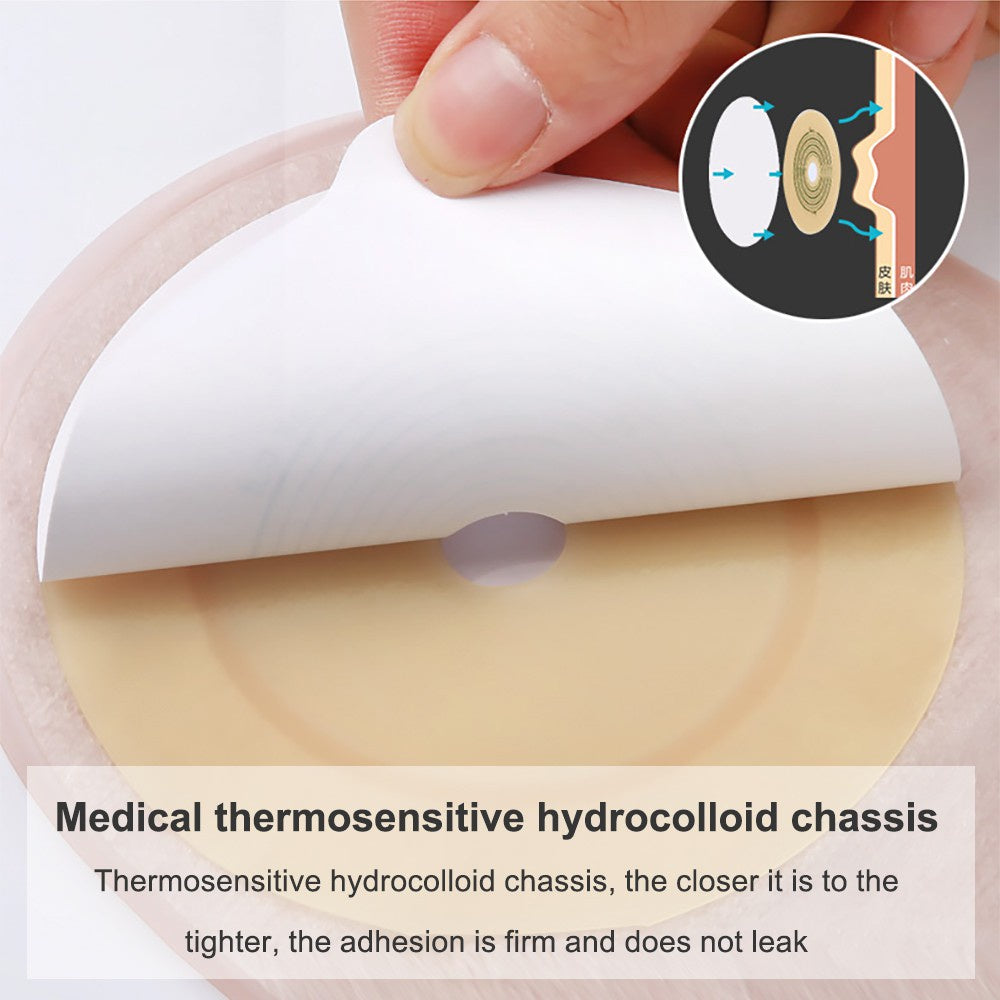
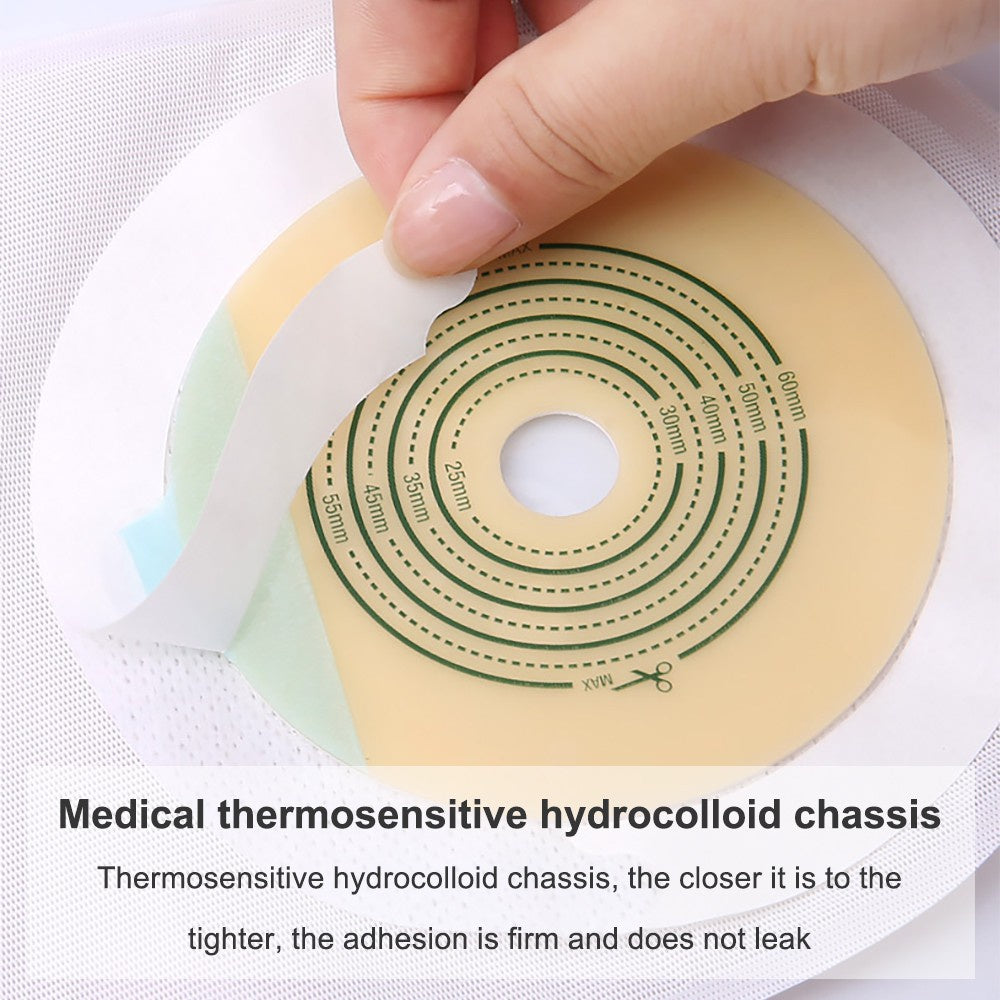
◐ Medical colloidal chassis (use more assured)
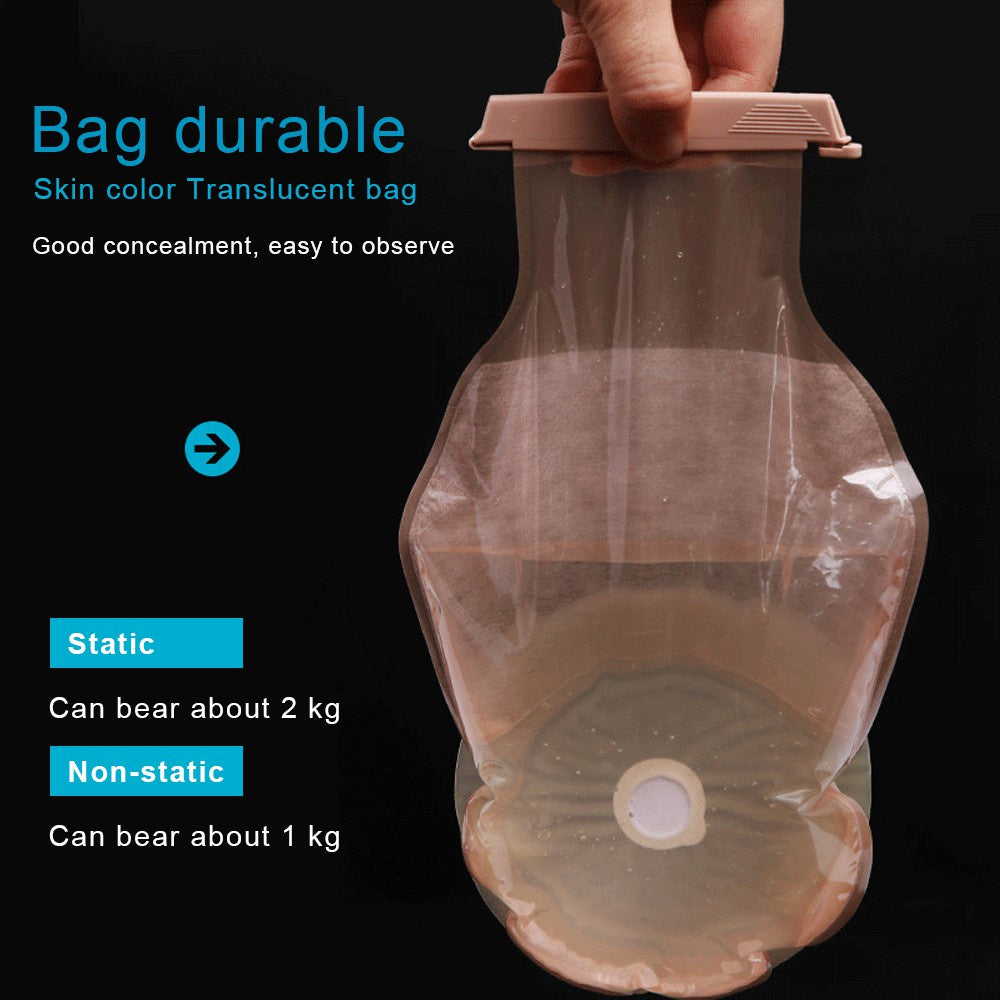
◐ PE film design (barrier sealing, easy to observe excreta status)
◐ Non-woven lining (non-allergic, skin-friendly)
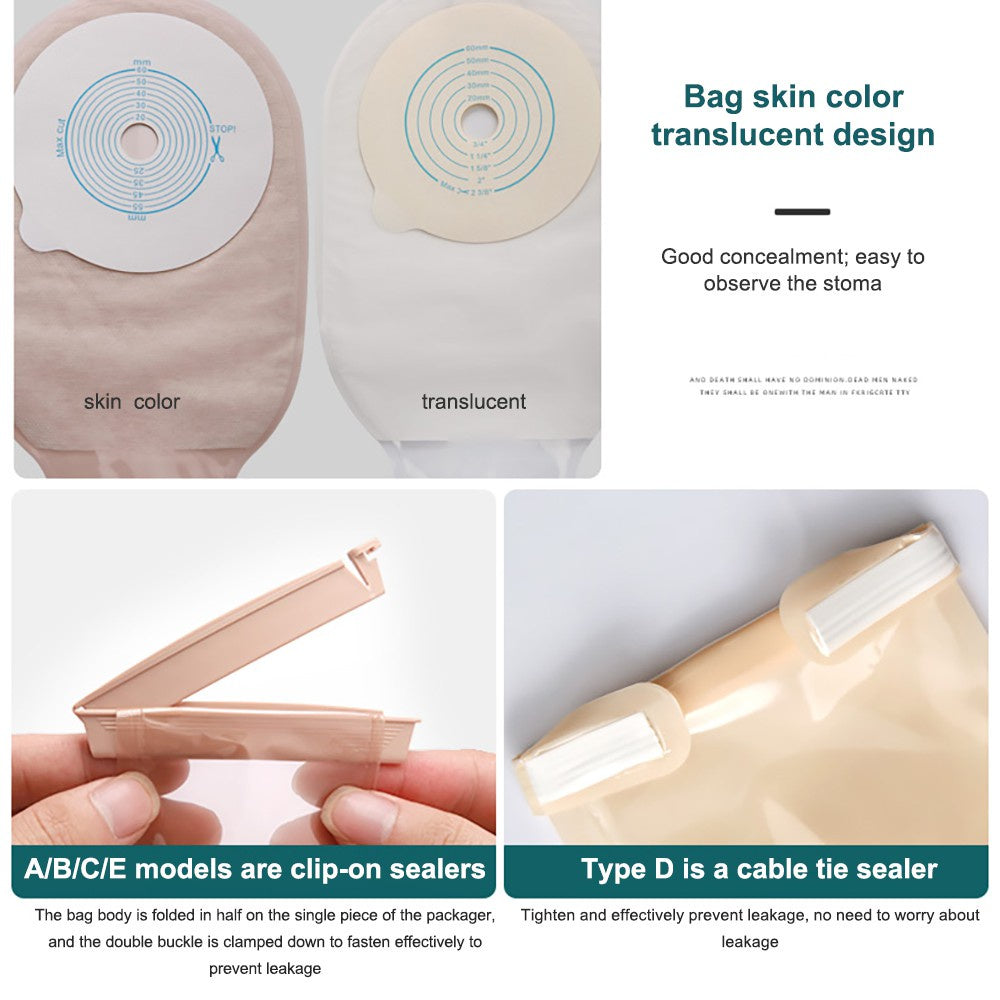
◐ Skin color translucent design (good concealment, easy to observe)
◐ clip-on sealer
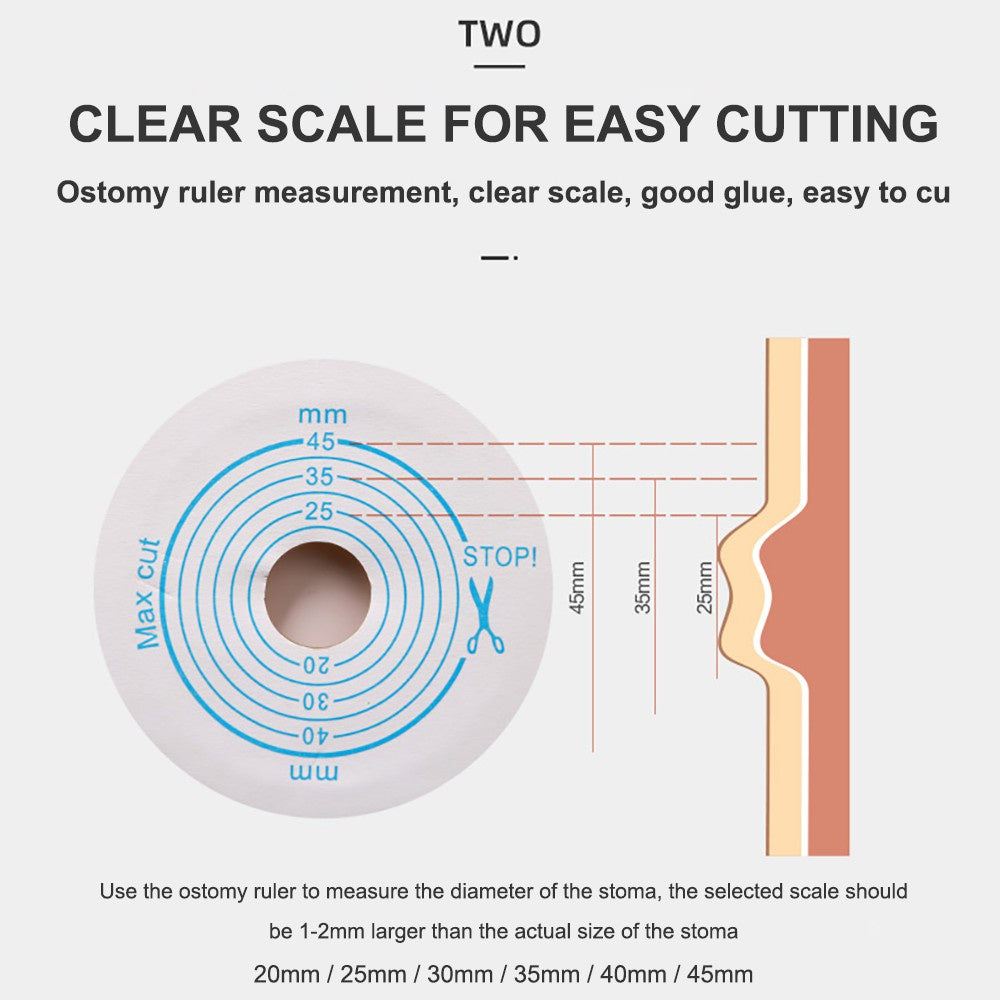
Cutting hole range: 15-60mm
Sealing method: Sealing Clip
Packing specification: 10 pieces/box/valid for 3 years
Product specification: can hold about 430ML
Scope of application: This product is mainly used for collecting excreta from patients after rectum, colon, ileum and anal diversion ostomy
Instructions for use
1. Cut holes on the chassis
Please make sure that the skin where it is applied is clean and dry. The chassis has a hole with a diameter of 10mm in advance. Please cut the hole directly according to the size and shape of your stoma. If you use bending shears, it will be easier to operate.
2.Remove the release paper
Remove the release paper: press one side of the adhesive with your thumb, and use the other hand to remove the release paper.
3.Wear the chassis
Align the chassis with the stoma and apply it smoothly, and then use your fingers to press the chassis from the bottom up to stick the glue to make the chassis close to the skin.
4.Put on the stoma bag
Loosen the lock ring, and then align the connecting ring of the ostomy bag with the connecting joint of the chassis. Starting from the bottom, press your fingers downwards and upwards along the outside of the connecting ring, and press the connecting ring of the ostomy bag and the joint of the chassis. buckle.
5.Lock the bag to the chassis
Adjust the bag to the best position. Then use your thumb and index finger to pinch from both sides to lock the ring. When you hear a "click", it indicates that the bag has been firmly locked with the chassis.
Tips:
1.The torn stoma can no longer be used.
2:The ostomy bag that is torn off can not be directlyf lushed into the toilet sewer
3.The standard process for the correct use of the ostomy bag:wear>>release>>check
Replacing the ostomy bag:
1. Observe the stoma mucosa, surrounding sutures and surrounding skin.
2. Clean the skin around the stoma, reduce odor and increase comfort.
3. Prevent fecal water from contaminating the abdominal incision through the chassis leakage.
4. If there is impregnation, be sure to replace it in time.
Share

